Page URL: /recipes/chinese-tea-eggs.html
Snacks
Chinese Tea Eggs
☆☆☆☆☆ Be the first to rateGive ordinary hard-boiled eggs a delicious upgrade with these homemade Chinese Tea Eggs! Inspired by a classic Chinese street food favorite, these beautifully marbled eggs are infused with black tea, soy sauce, cinnamon, star anise, and warm spices. The result is a savory, aromatic egg with a rich flavor that gets better the longer it marinates.
Why You’ll Love This Recipe
This recipe is especially meaningful to me because it brings back some of my earliest memories of cooking with family and experiencing street food for the first time. I've adapted the traditional preparation to make meal prepping easier for busy weeks. Instead of cooking everything on the stovetop, we'll use a slow cooker to prepare the flavorful marinade and a pressure cooker to cook the eggs. Make a large batch once, let the eggs soak, and enjoy them throughout the week! **Dietary Notes:** Gluten-free and keto-friendly adaptations are included below.
Equipment needed for recipe

THE RECIPE
Ingredients & preparation
Check off ingredients as you go, then follow each step.
Part 1: Prepare the Slow Cooker Marinade
Ingredients
Preparation steps
- 1
Combine the ingredients.
Add the water, soy sauce, black tea bags, bay leaves, cinnamon sticks, clementine peels, sugar or sweetener, and salt to your slow cooker.
- 2
Prepare the spice sachet.
Place the peppercorns, cloves, and star anise into a disposable tea bag or reusable spice sachet. Add it to the slow cooker. This makes removing the whole spices much easier later.
- 3
Slow-cook the marinade.
Cover and cook on LOW for 8 hours or HIGH for 4 hours. I personally prefer the LOW setting because it gives the spices more time to develop a deeper flavor.
- 4
Cool completely.
Remove the tea bags and allow the marinade to cool to room temperature before adding the eggs.
While the marinade cools, prepare your eggs.
Part 2: Cook the Eggs in the Pressure Cooker
Ingredients
Preparation steps
- 1
Prepare the pressure cooker.
Add the recommended amount of water to your pressure cooker and arrange the eggs on a silicone rack or insert, if using. Avoid exceeding your appliance's maximum capacity.
- 2
Cook the eggs.
Pressure cook according to your appliance's instructions and your preferred doneness. I recommend medium- to hard-boiled eggs. For timing guidance, I like referencing this Pressure Cooker Eggs Guide. Keep in mind that altitude and individual pressure cookers can affect cooking times and results
- 3
Release pressure and cool.
Once cooking is complete, release the pressure according to your appliance's instructions. Remove the egg basket and immediately transfer the eggs to an ice-water bath.
- 4
Allow the eggs to cool completely.
The ice bath helps separate the membrane from the shell, making peeling easier.
Part 3: Create the Marbled Tea Egg Pattern
Preparation steps
- 1
Crack the shells gently.
Drain the cooled eggs. Gently tap the top and bottom of each egg, then carefully roll it on its side to create a network of cracks around the shell.
- 2
Keep the shells on.
Do not peel the eggs yet! The cracked shells allow the tea marinade to seep through and create the beautiful marbled pattern.
- 3
Transfer to a container.
Place the cracked eggs into a large food-safe container or zip-top bag.
- 4
Add the cooled marinade.
Pour the completely cooled marinade over the eggs, making sure they are fully submerged.
- 5
Refrigerate and marinate.
Cover and refrigerate overnight for a milder flavor or up to 3 days for a richer, more pronounced taste.
- 6
Drain and enjoy! Once the eggs have reached your desired flavor, remove them from the marinade. Peel and enjoy!
Happy meal prepping!
Notes & tips
Tips for Perfect Chinese Tea Eggs
- Use a silicone insert: This helps keep eggs from resting directly against the pressure cooker surface.
- Cool the marinade completely: Never add hot marinade to your cooked eggs. Cooling it first helps prevent continued cooking.
- Crack, don't peel: The eggs must remain in their shells while marinating to create the signature tea-stained pattern.
- Use a spice sachet: A disposable tea bag makes it much easier to remove small peppercorns, cloves, and star anise.
- Keep the eggs submerged: If the tops of the eggs are exposed, place a small clean paper towel over them to help keep them covered with marinade.
- Prevent leaks: If using a zip-top bag, place it inside a large bowl or container in case of leakage.
- Dry your clementine peels: Save and dry extra clementine peels for future batches. It's a simple way to have them ready whenever you want to make this recipe.
How to store
Storage and Meal Prep
These Chinese Tea Eggs are perfect for making ahead!
- Keep the eggs refrigerated while they marinate.
- Marinate overnight for a lighter flavor or up to 3 days for a stronger flavor.
- Once finished marinating, drain the eggs and store them in a covered food-safe container in the refrigerator.
- For best food safety, keep refrigerated at 40°F or below and use within 7 days of cooking.
Making a large batch is a great way to have a convenient, protein-rich snack ready throughout the week.
What to serve with
Keto-Friendly and Gluten-Free Adaptations
Want to make these Chinese Tea Eggs fit your dietary preferences? A couple of easy substitutions will help.
For Keto:
- Replace the regular sugar with your favorite keto-friendly sweetener.
- Choose a sweetener that works well in savory marinades.
- Keep in mind that the soy sauce also contributes a small amount of carbohydrates.
For Gluten-Free:
- Replace regular soy sauce with a certified gluten-free soy sauce or gluten-free tamari.
- Check the labels on your tea and other seasonings to ensure they meet your dietary requirements.
- If your substitute has a milder or less salty flavor, adjust the salt to taste.
With these simple adjustments, you can enjoy this flavorful recipe while keeping it compatible with a keto or gluten-free eating plan.
A Little Family Tradition
These Chinese Tea Eggs are more than just a meal-prep staple for me. They bring back memories of cooking with family and discovering the wonderful flavors of street food.
I love that this adapted version makes it possible to enjoy those flavors without having to prepare a fresh batch every day. Make them ahead, let the marinade work its magic, and enjoy a little taste of tradition throughout the week!
Happy cooking from Tricks 2 Treats!
Leave a Comment
Your email address will not be published. Required fields are marked (*).
Loading reviews…
MORE FROM OUR KITCHEN
You might also enjoy
 Pocket Full of Goodness
Easy Microwave Poached Egg: Ready in About 30 Seconds!
Want a quick egg without dirtying a pan? This simple microwave poached egg hack is worth trying! With just an egg, water, and a microwave-safe cup, you can make a single serving in about a minute.
 Breakfast
High-Protein Sourdough Discard Pancakes
Looking for a delicious way to use up sourdough starter? These sourdough pancakes combine starter, eggs, collagen, and protein powder for a satisfying breakfast that's easy to prepare.
 Sides
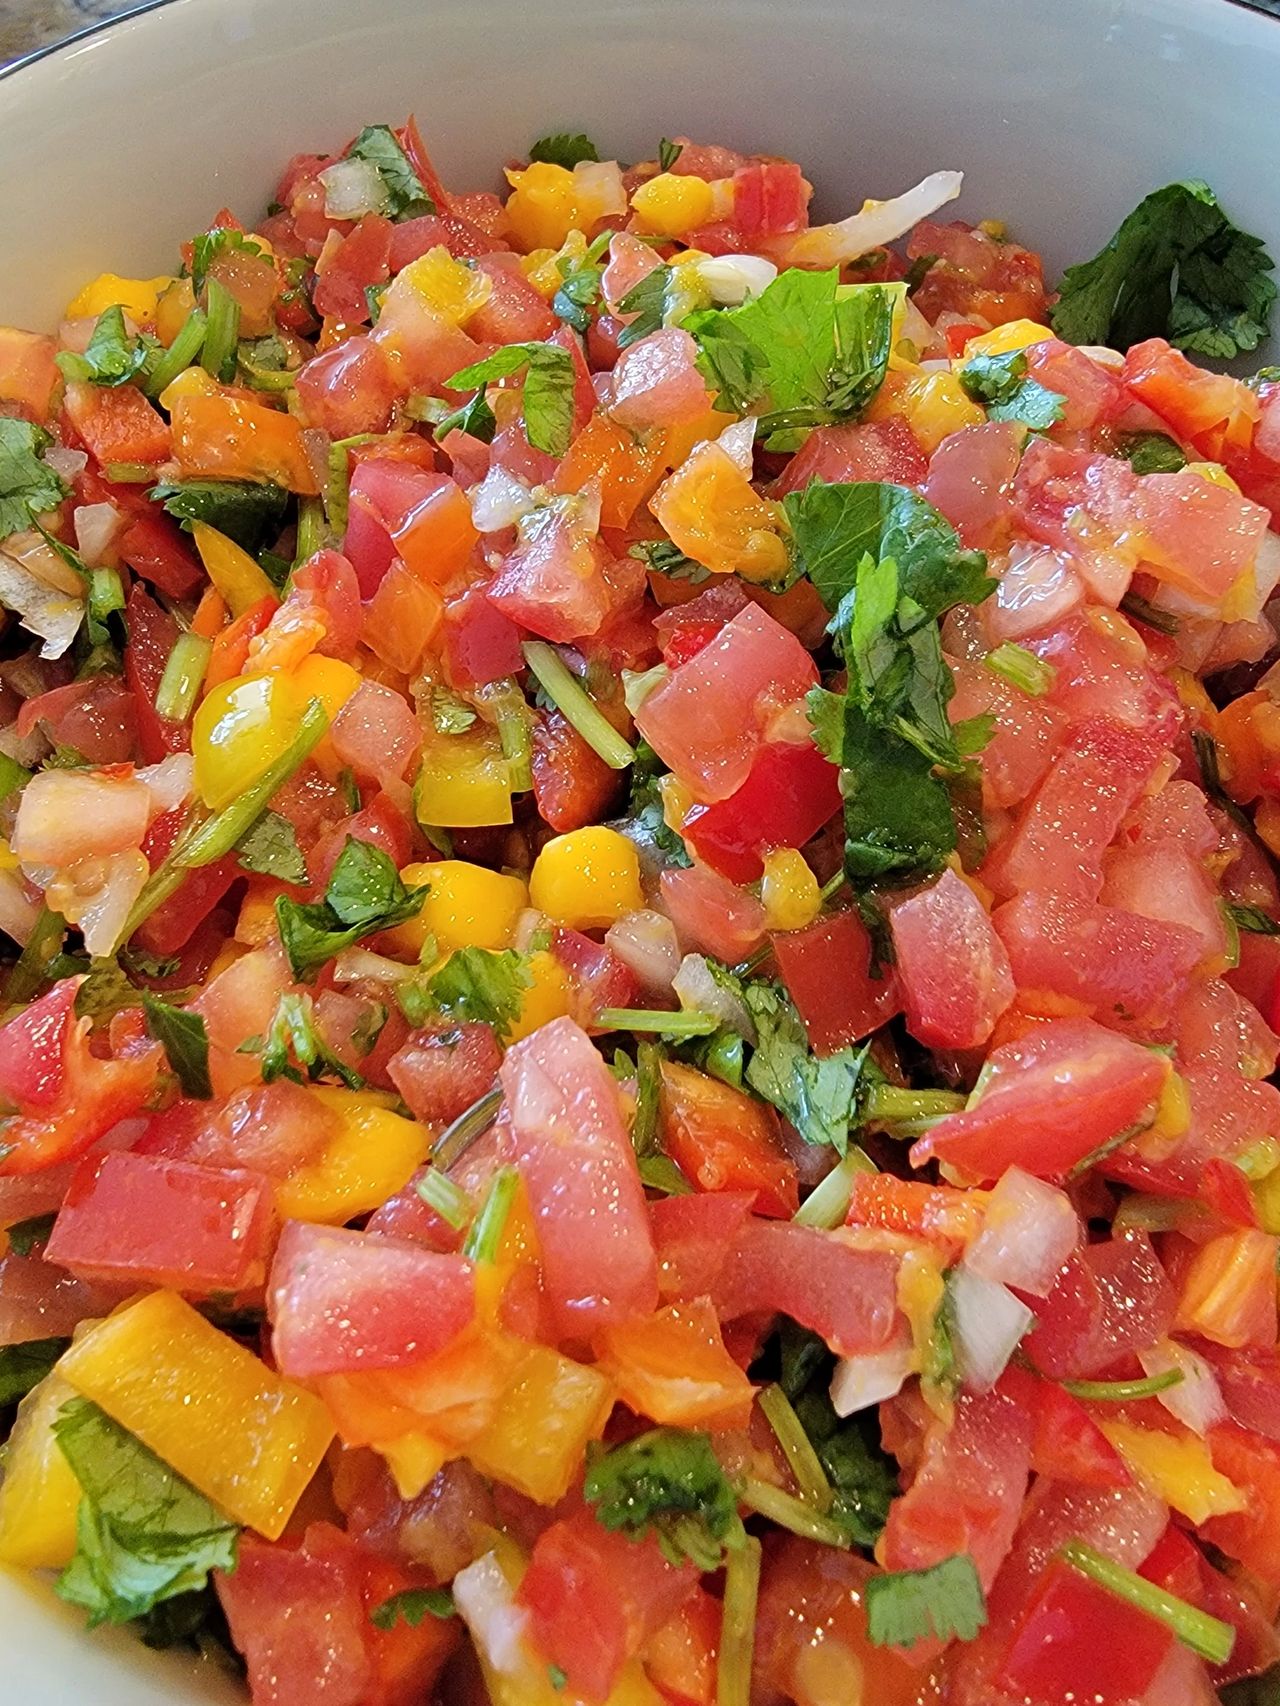
Peach Salsa
Fresh, sweet, tangy, and just a little spicy! This Simple Peach Salsa is an easy way to use fresh peaches and add a burst of flavor to your meals. With juicy peaches, tomatoes, jalapeños, red onion, and fresh cilantro, it makes a delicious dip, topping, or side dish.